
Member contribution by Taty Hindes of Soul Space Design, a Noosa Business Group member business. Adapted with permission from Taty’s original article, Understanding Image Resolution and DPI.
When you are preparing a brochure, sign, business card, website image or social media post, the quality of your images matters.
A sharp, well-prepared image helps your business look professional. A blurry logo, pixelated photograph or slow-loading website image can have the opposite effect.
One of the most common problems is that an image looks perfectly fine on your computer screen but becomes blurry when printed. The reverse can also happen: a large, high-quality image may look excellent but slow down your website if it has not been properly optimised.
To help explain the difference, we are sharing this practical guide from Taty Hindes of Soul Space Design. Taty has more than 40 years of professional design experience, and this kind of practical knowledge-sharing is one of the benefits of being part of a supportive local business community.
What Is Image Resolution?
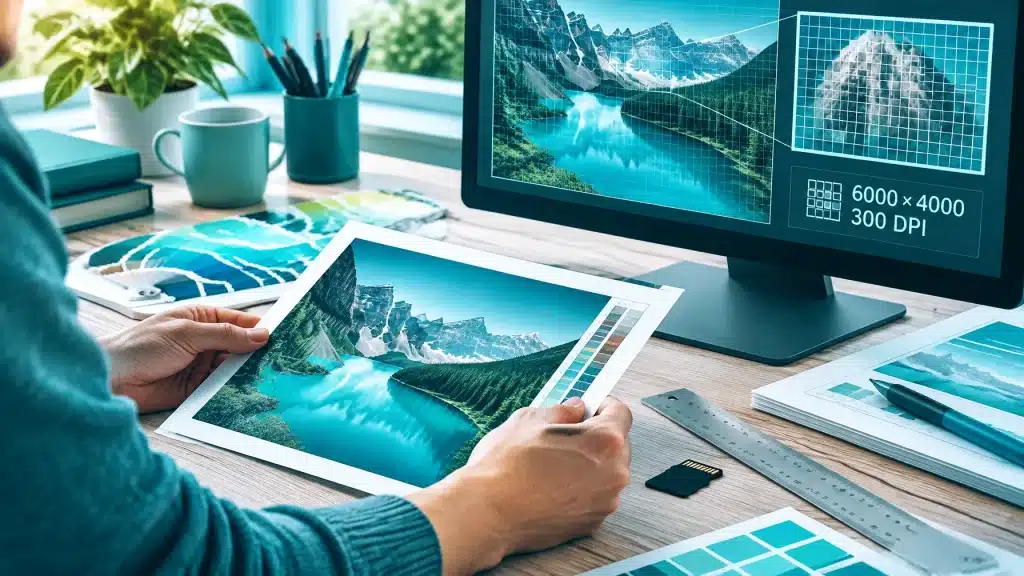
Image resolution is the amount of detail contained in an image. It is usually measured in pixels, shown as the image’s width and height.
For example:
- 4,000 × 3,000 pixels is a large, detailed image.
- 800 × 600 pixels is a much smaller image.
- More pixels generally mean more detail and flexibility.
- Fewer pixels can result in softness or blurriness, especially when the image is enlarged.
A 4,000 × 3,000 pixel photograph may print clearly at a useful size. An 800 × 600 pixel image might look fine as a small image on a website but print poorly on a brochure or sign.
The important point is that pixel dimensions describe how much image information you have available. Changing a setting in an image program does not automatically create more genuine detail.
What Does DPI Mean?
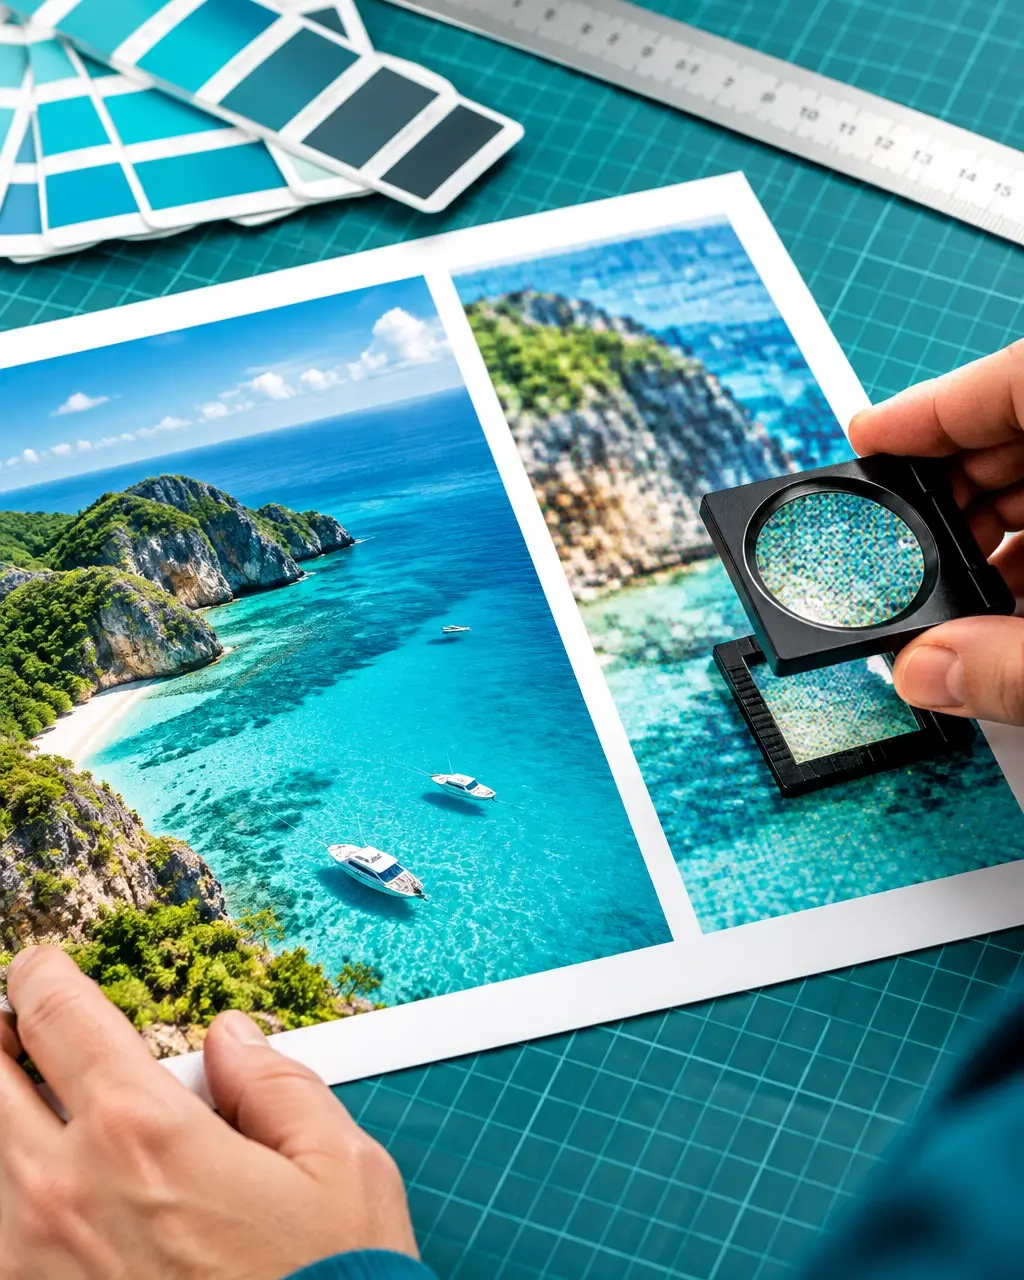
DPI stands for dots per inch. It describes how many tiny dots of ink or toner a printer places on paper.
Generally:
- Higher DPI can produce sharper print.
- Lower DPI can produce softer or blurry print.
- Around 300 DPI is a common target for crisp, professional print work.
If you plan to enlarge an image, the original file needs enough detail to support that larger size. For example, if you double the print size without adding enough pixels, the effective resolution is reduced by half.
A useful example is a photograph that is suitable for a small flyer but is then stretched across a large banner. The image may still be usable, but it could appear soft because the original file did not contain enough information for the larger output.
Changing the DPI number alone will not fix this. If a small image is labelled as 300 DPI, it is still a small image.
DPI and PPI: What Is the Difference?
DPI and PPI are often used interchangeably, but they technically describe different things.
- PPI means pixels per inch. It relates to digital image pixels and how they are arranged at a particular physical size.
- DPI means dots per inch. It relates to the dots of ink or toner produced by a printer.
A simple way to remember it is:
PPI is digital. DPI is physical.
In everyday design and printing conversations, people often say “DPI” when they mean the resolution of an image. The practical question is usually whether the image contains enough pixels for its intended final size.
For a 10 × 8 inch image at 300 PPI, you would ideally need approximately 3,000 × 2,400 pixels.
The larger the final print, the more pixels you need. Viewing distance also matters. A business card is viewed closely, while a large outdoor sign is usually viewed from farther away. Your designer or printer can advise on the appropriate resolution for the project.
What Matters for Website and Social Media Images?
Screen images do not use DPI in the same way as printed images. What matters most online is:
- The pixel width and height.
- The image crop and aspect ratio.
- The file size.
- The format used.
- How the image appears on different screen sizes.
Changing an image from 72 DPI to 300 DPI does not make it sharper in a web browser. The browser responds primarily to the image’s pixel dimensions.
Modern screens, including Retina displays, can show a high number of pixels in a small physical area. This means you should focus on supplying an image with suitable pixel dimensions rather than relying on a DPI label.
For websites, a good workflow is to:
- Export the image at the size it will actually be displayed.
- Create smaller versions for mobile devices where appropriate.
- Compress the image without damaging important detail.
- Use modern formats such as WebP for a good balance of quality and loading speed.
- Keep an original, high-quality version safely stored elsewhere.
WebP can be a useful format for photographs and online graphics. It is not a resolution setting. It is simply a way of encoding and compressing an image for web delivery.
For digital files, RGB is generally the appropriate colour mode. RGB is used by cameras, monitors, browsers and most online platforms.
Preparing Images for Print
Before sending an image to a designer or printer, check the following:
- Use approximately 300 DPI or PPI for standard, close-viewed print work.
- Make sure the image has enough pixels for the final size.
- As a general guide, images should often have at least 2,000–3,000 pixels on the shortest side.
- Ask the printer whether they require CMYK or a particular colour profile.
- Save photographs as TIFF or high-quality JPEG where appropriate.
- Avoid screenshots and images downloaded from websites, as they are usually too small.
- Keep important text and logos in vector or high-resolution formats whenever possible.
- Include bleed if your printer requests it.
CMYK is commonly used for print because it represents cyan, magenta, yellow and black inks. However, the correct colour workflow depends on the printer, paper, press and production method. Some modern print services request RGB files and handle the conversion themselves.
For this reason, it is best to follow the printer’s current specifications rather than converting every file to a generic CMYK format without checking.
If you are unsure, send the file through to your designer or printer before the project begins. They can check the resolution, colour mode, dimensions and format.
How to Check Image Resolution
In Adobe Photoshop
- Open the image.
- Go to Image > Image Size.
- Check the Pixel Dimensions for online use.
- Check the Document Size in millimetres or centimetres for print.
- Check the Resolution value for the DPI or PPI setting.
- Leave Resample unticked if you are checking the file without changing its dimensions.
On a Mac
- Right-click the image.
- Choose Open With > Preview.
- Select Tools > Show Inspector, or press Command + I.
- Select the More Info tab.
- Review the resolution, DPI and pixel dimensions.
On Windows 10 or 11
- Right-click the image.
- Select Properties.
- Open the Details tab.
- Look for:
- Horizontal resolution.
- Vertical resolution.
- Pixel width.
- Pixel height.
Can AI Upscaling Improve a Small Image?
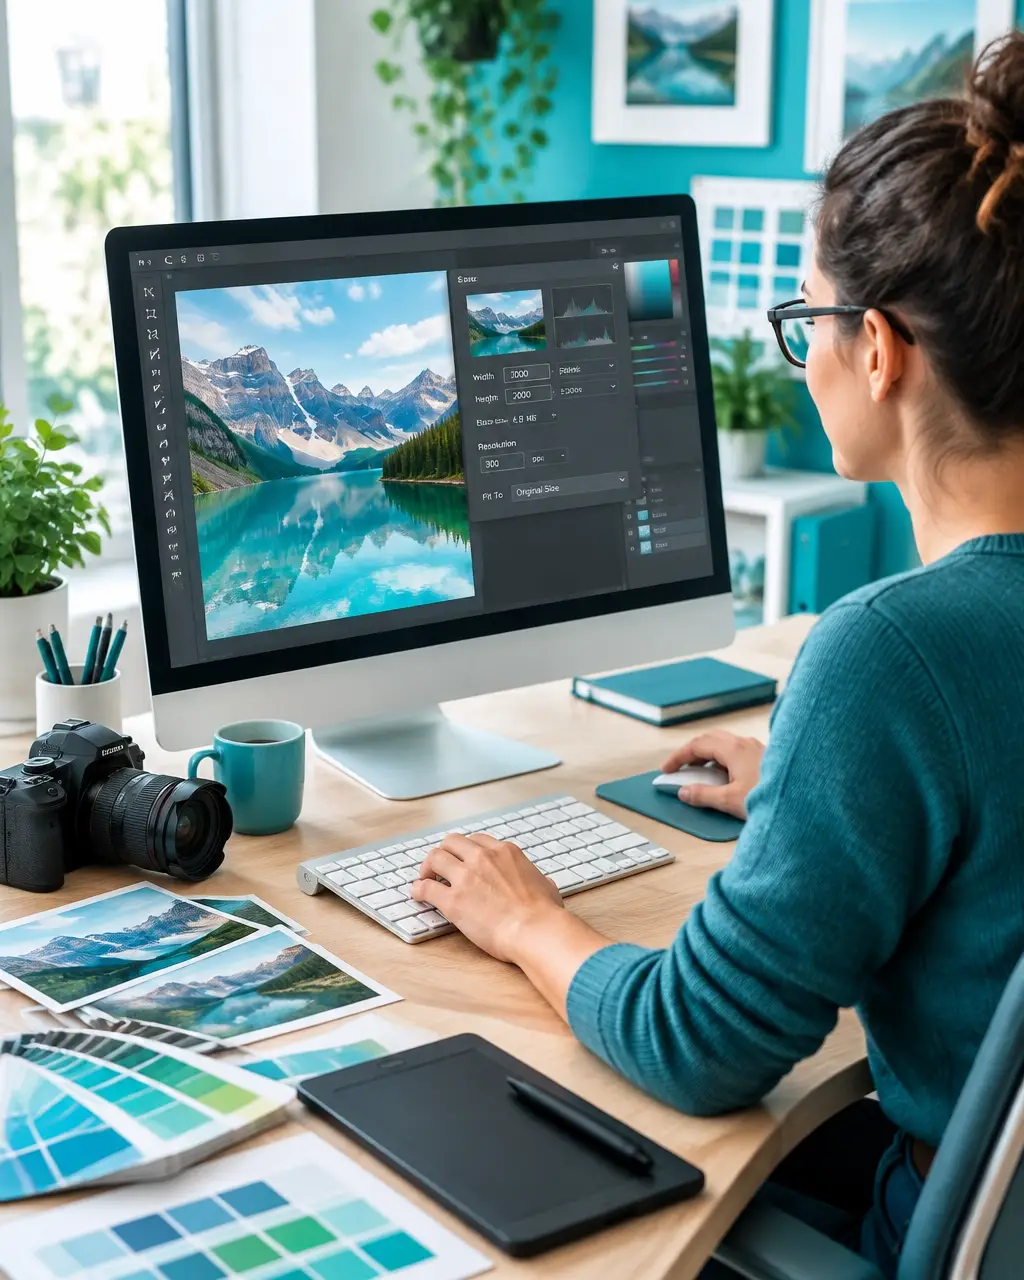
AI tools can upscale images by increasing their pixel dimensions and predicting detail based on the original file. This can be useful when an image needs to be prepared for a larger print or a more detailed application.
Some specialist tools can enlarge images by 200% to 400% or more. However, AI upscaling is not a magic fix.
It works best when the original image already contains some detail. If the file is extremely small, blurry or heavily compressed, the software may invent detail rather than recover the original information.
If you use AI upscaling:
- Start with the highest-quality original available.
- Calculate the pixel dimensions needed for the final size.
- Upscale only as much as necessary.
- Check the result at 100% magnification.
- Look for halos, strange textures, distorted faces or broken lettering.
- Check the image again at its actual print or screen size.
Small text, product labels, line drawings and logos need particular care. A vector version is usually a better choice for logos and other scalable graphics.
Common Image Resolution Myths
“I can increase the DPI to make an image high-resolution.”
Changing the DPI setting does not add detail. A small image will still have limited pixel information.
“DPI is important for website images.”
For web images, pixel dimensions, compression and display size matter much more than the DPI metadata.
“A bigger file is always a better file.”
Not necessarily. A large file can still be blurry if the original image was low-resolution. File size alone does not guarantee quality.
“CMYK is always better for print.”
The correct colour space depends on the printer and production workflow. Always check the supplier’s requirements.
Quick Checklist Before Sending an Image
For print
- 300 DPI or the printer’s recommended setting.
- Larger pixel dimensions if the image will be enlarged.
- CMYK or the requested colour profile.
- TIFF or high-quality JPEG for photographs.
- Print-ready PDF where required.
For digital use
- RGB colour mode.
- Correct pixel width and height.
- Optimised file size.
- WebP for suitable web images.
- PNG for drawings, line graphics or transparency.
- JPEG or WebP for many photographs.
A Useful Companion to Our Vector and Raster Guide
This article pairs naturally with our earlier member-contributed guide about vector and raster files. That guide explains the difference between file types. This one focuses on image resolution, sizing and preparation.
Together, they provide a useful starting point when you are ordering print, preparing website images or sending files to a designer.
If you are not sure whether your files are ready, contact Soul Space Design for professional guidance on resolution, formats and colour profiles.
Practical Knowledge From Our Noosa Business Community
Taty Hindes of Soul Space Design is one of the experienced professionals contributing to the Noosa Business Group. Her advice is a helpful reminder that local business owners do not have to work everything out alone.
Our Wednesday morning meetings at Noosa Springs Golf and Spa Resort are built around genuine conversations, practical support and trusted referral relationships. Members share their expertise, ask questions and help one another make informed business decisions.
Would you like to find out more about the Noosa Business Group? You are welcome to enquire about visiting a meeting and learning how our local business network works.
And if you are a member, we would love your input for future articles and social media posts. Send us:
- An idea for advertising or promoting your business.
- A practical tip from your industry.
- A common problem your customers ask you to solve.
- A useful example, photo, voice message or link.
Your knowledge could help another local business owner while also introducing more people to the expertise within our community.
About the contributor

Taty Hindes, Soul Space Design
Graphic and web designer based in Sunrise Beach, with 40 years of international experience, including projects for Disney and Nestlé. Taty holds a Master of Fine Arts in Design, earned as a Fulbright Harvard‑LASPAU Scholar. She builds WordPress websites and visual identities for Noosa and Sunshine Coast businesses, and turns AI generated concepts into production ready files.